
I’m all about DIY, which is so not Upper East Side of me.
I’ll be pumped about the new box shelf I just made and get reactions
like “omg LOVE! You know you can totes buy
those at Anthro." (Barf. And don’t pretend you have enough money to
shop at Anthropologie; we’re the same age. Take your ombre hair and leave me
and my box shelf alone.) So in
defiance, I’m going to start posting DIY tutorials on my blog. I made a beeswax candle! SUCK ON THAT UES!
(p.s. that pretty girl in the photo is my sister)
 What you’ll need:
(p.s. that pretty girl in the photo is my sister)

- Beeswax (you can also use paraffin wax or soy wax chips)
- 1 jar of Coconut Oil
- Essential oil for scent (I used Sweet Orange)
- Flat wooden dowel (similar to little wooden coffee stirrers – Next time I’m going to try just using those!)
- Glass Jar
- Pot and glass container for “double boiler”
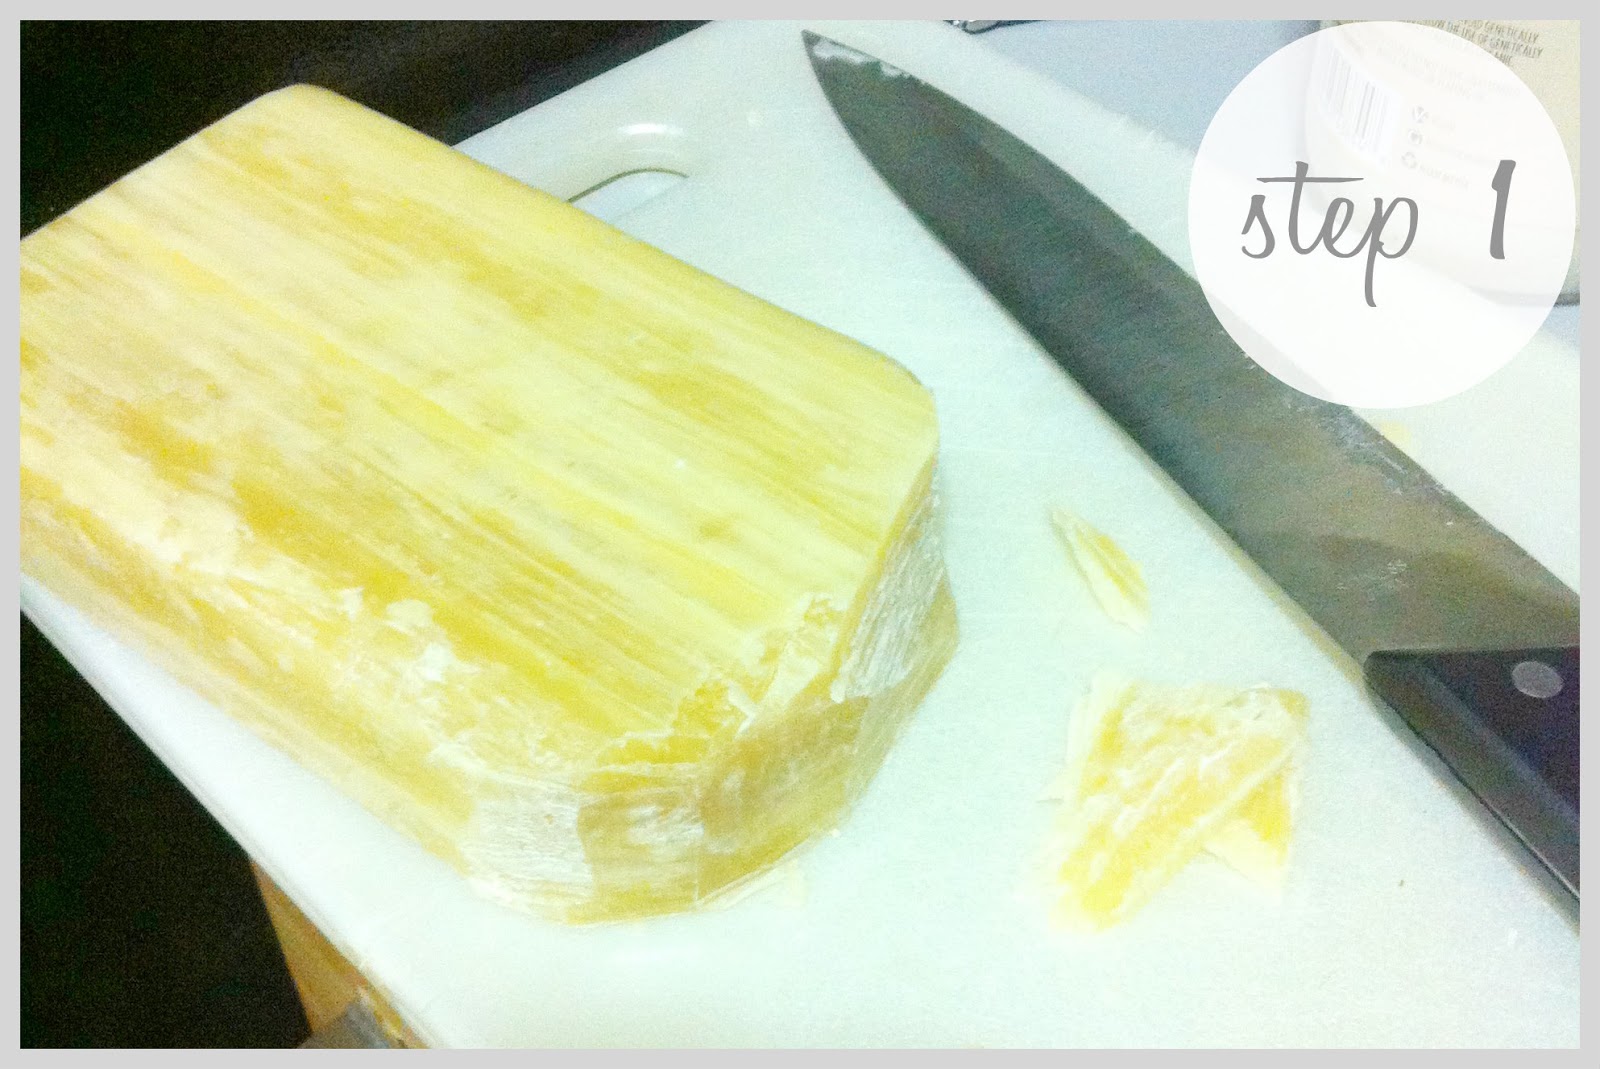
1. Shave chips of wax off of the beeswax block. I used a knife at first and then found that a
cheese grater was easier for me. If you
can find beeswax that comes in small chips, buy that! This was definitely the most tedious step
since the wax is so dense and sticky.
2. Create a double boiler buy placing a glass container in
about 2 inches of boiling water. Add
your beeswax chips and coconut oil to the glass container and stir until melted
(2:1 ratio beeswax to coconut oil).

3. While the wax is melting, cut your wood dowel so it is
just shorter than the height of your candle jar.
Once the wax is melted, add your cut dowel (or dowels if you are making
more than one candle) to the melted wax and let it soak for 10 minutes. This will help your wood wick draw up wax as
it burns so it does not burn out right away.
4. Take your soaked wick out and set aside to cool. Add more wax chips to your double boiler if
you need to.
5. Now for the fun smelly-good part! Beeswax already gives
off a lovely honey scent (very light), but if you like more fragrant candles,
add some essential oil. I added this
entire bottle (1/4oz) of sweet orange oil .

6. Now you’re ready to make the candle! Pour about 1 inch of your melted wax into the
bottom of your candle jar. Insert the
wood wick and hold while the wax dries.
This makes a base for the wick so that you don’t have to try and keep it
straight when you pour the rest of the wax in.
If you’d rather not hold it, you can tape it to a skewer or coffee
stirrer and lay it across the top (picture below).

| 
|
7. Once the base wax dries, pour the rest of the wax into
your jar. Leave at least ¼ inches of
wick at the top. You can always cut it
down later if need be.
8. And you’re done! I
made labels for the lids of my jars so I could give them as gifts. I named my fake candle company Wickitty
Wax. Get it ?


Let me know if you have any questions and I'll answer them right away! More to come. The Upper East Side could use a little more DIY.
I'll keep ya posted,
- d
So cool! I just started messing around with soy wax to make solid perfume today. Fun, fun!
ReplyDeleteCould I use a toothpick as a wick for a small candle? I totally love this idea of wooden wicks, it's the first time I've come across it. I need to make these little things in a hurry, as in, really urgent! And toothpicks are just lying around.
ReplyDeleteI have broken a glass jar when using it as a double broiler. Any other suggestions?
ReplyDeleteHi! Bummer, I haven't run into that before. do you have a metal container you could use?
Delete